|
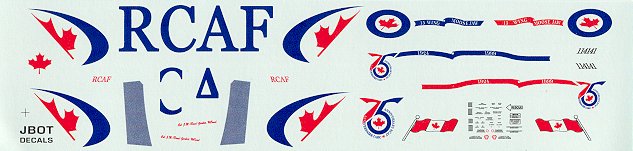
This is the very
colourful CAF Tutor jet that was painted up to mark the 75th Anniversary of the
RCAF. These decals are printed on an ALPS printer, so they do need to be
individually cut from the decal carrier film, but this is a tiny inconvenience
when compared to the pleasure of finding decals for this colourful little
training jet. I found the quality of the 1/72 decal sample I received to be very nice and
typical of the amazingly high standard of quality of printing that is possible
from an Alps printer. Alps printed decals on averge aren't quite as nice
as silk screened decals, but they can get very close in quality. The Artwork was well done on this sheet and it's
obvious the person doing these decals knows what he is doing. The
instruction sheet consists only of pictures for you to figure out decal
placement, which isn't too bad but it does make the modeller work a bit
harder because the reference photos are not taken straight on so the modeller
will have to factor in "angle of view" when doing decal
placement. I don't consider this to be a big deal, but clearly printed
line drawings with the placement of the decals would be easier for the modeller
to figure out exact decal placement without having to guess. To find
decals of the markings of this commemorative Tutor jet is quite a treat.
(resolution of decal sheet has been
reduced to protect the art work)
This
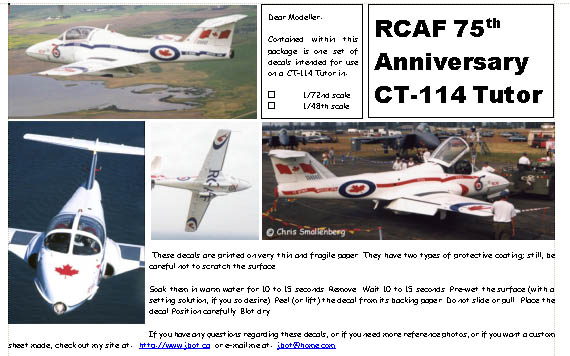
following information is from their instruction sheet.....
These
decals are printed on very thin and fragile paper.
Soak
them in warm water for 10 to 15 seconds. Remove. Wait 10 to 15 seconds. Pre-wet
the surface (with a setting solution, if you so desire). Peel (or lift) the
decal from its backing paper. Do not slide or pull.
Place the decal. Position carefully. Blot dry.
If
you have any questions regarding these decals, or if you need more reference
photos, or if you want a custom sheet made, check out my site at:
http://www.jbot.ca
or e-mail me at: jbot@rogers.com
Steve Bamford
|